갤럭시 S22 스크린 프로텍터
EF-US901CTEGKR
갤럭시 S22 보호필름인 스크린 프로텍터
삼성닷컴에서 온라인 주문하고 6일 만에
배송이 완료 되었습니다.

보호필름 모델명은 EF-US901CTEGKR
Made in Korea 입니다.

스크린 프로텍터의 구성품입니다.
필름 2장, 고정용 지그, Dust Remover, 밀대
그리고 먼지 제거용 천과 설명서입니다.

부착 방법이 그림으로 설명되어 있습니다.
그런데, 글자가 너무 작아서 눈이 빠집니다.

한국어로 된 유의사항도 있습니다.

스크린 프로텍터는 2장이 들어 있습니다
보호필름을 스크린 프로텍터라 하니까
뭔가 좀 더 있어 보이기는 합니다.

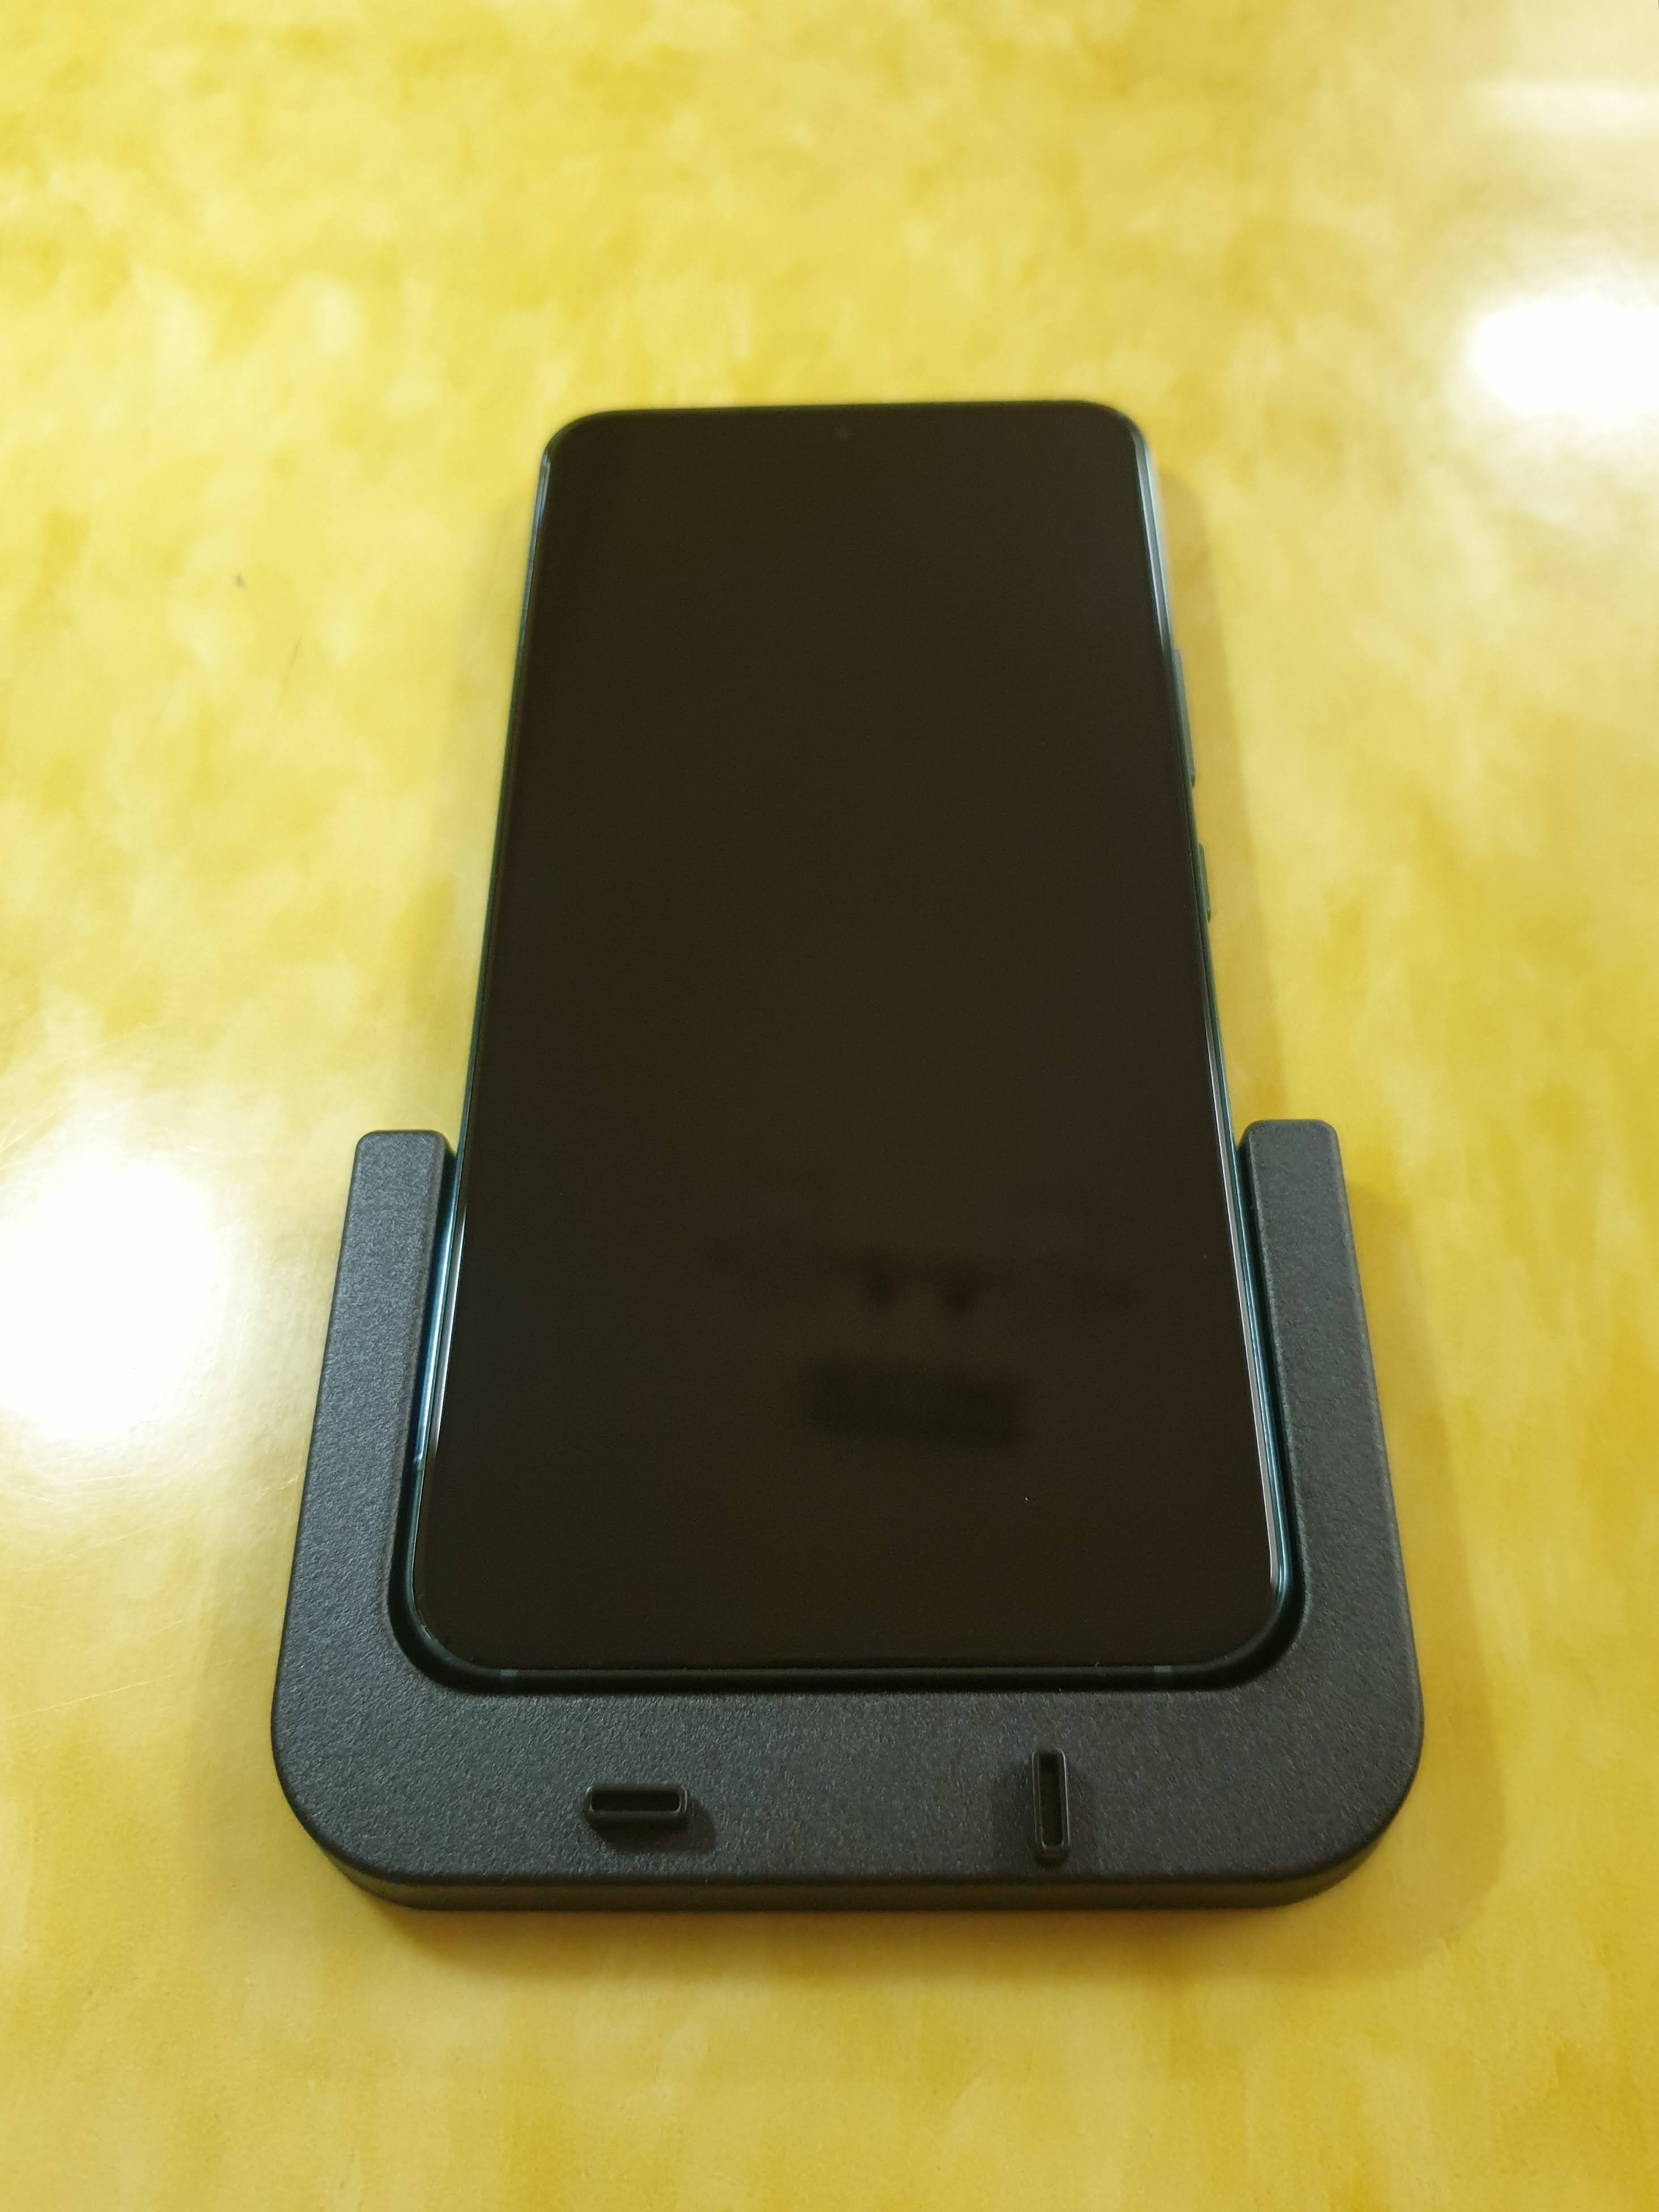
갤럭시 S22 고정용 지그입니다.
테이프를 떼고 갤럭시 S22를 고정합니다.

이렇게 하단 부분 끝이 맞도록 고정합니다.
먼지닦이용 수건이나 알콜솜 등으로
스크린 위의 먼지를 꺠끗이 닦아줍니다.

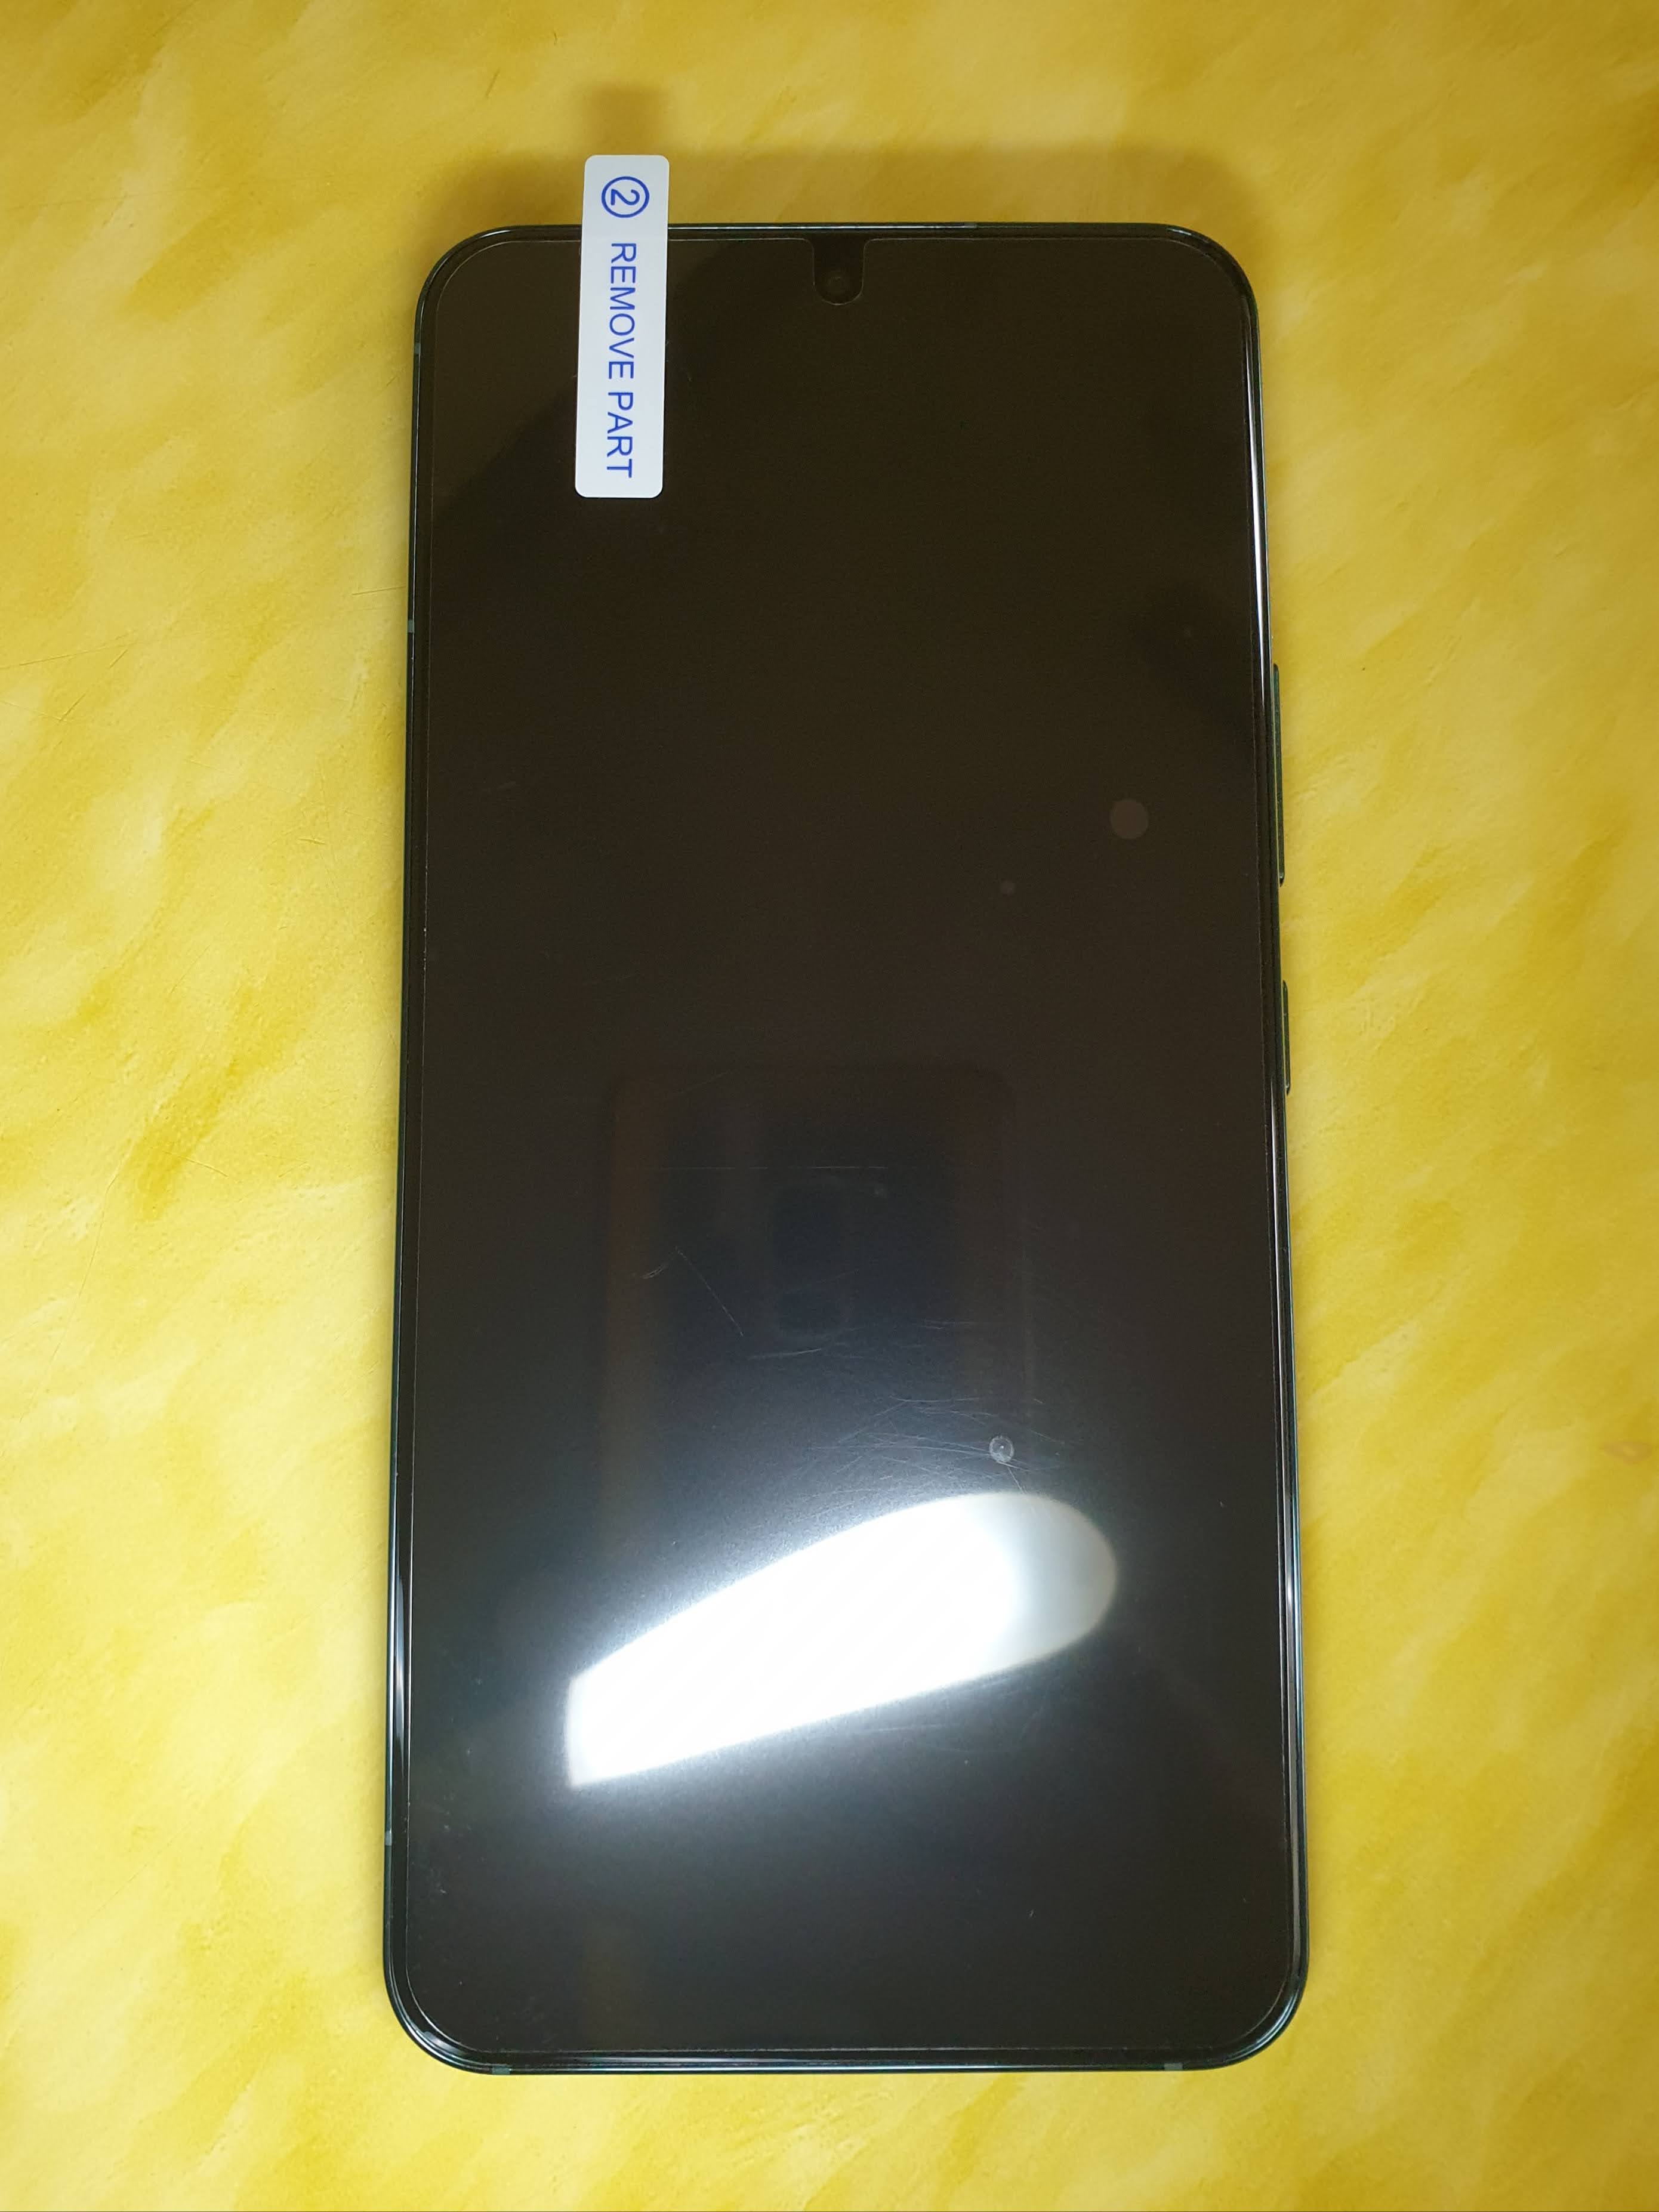
보호필름의 중간 부분에 있는 빨간색 글씨의
①번 Remove Part를 제거하고

하단의 필름걸이에 먼저 구멍을 맞춘 다음
상단의 카메라가 필름 노치에 잘 맞도록 해서
①번 제거한 면이 아래로 가도록 붙여줍니다.

①번 Remove Part 부분을 밀대로 밀어서
공기를 빼고 붙여 줍니다.

윗부분의 파란색 핌름을 천천히 제거합니다.
제거하면서 밀대로 살살 밀어줍니다.

다음에는 아래 부분의 파란 필름을 제거하면서
밀대를 천천히 밀어 기포를 제거합니다.

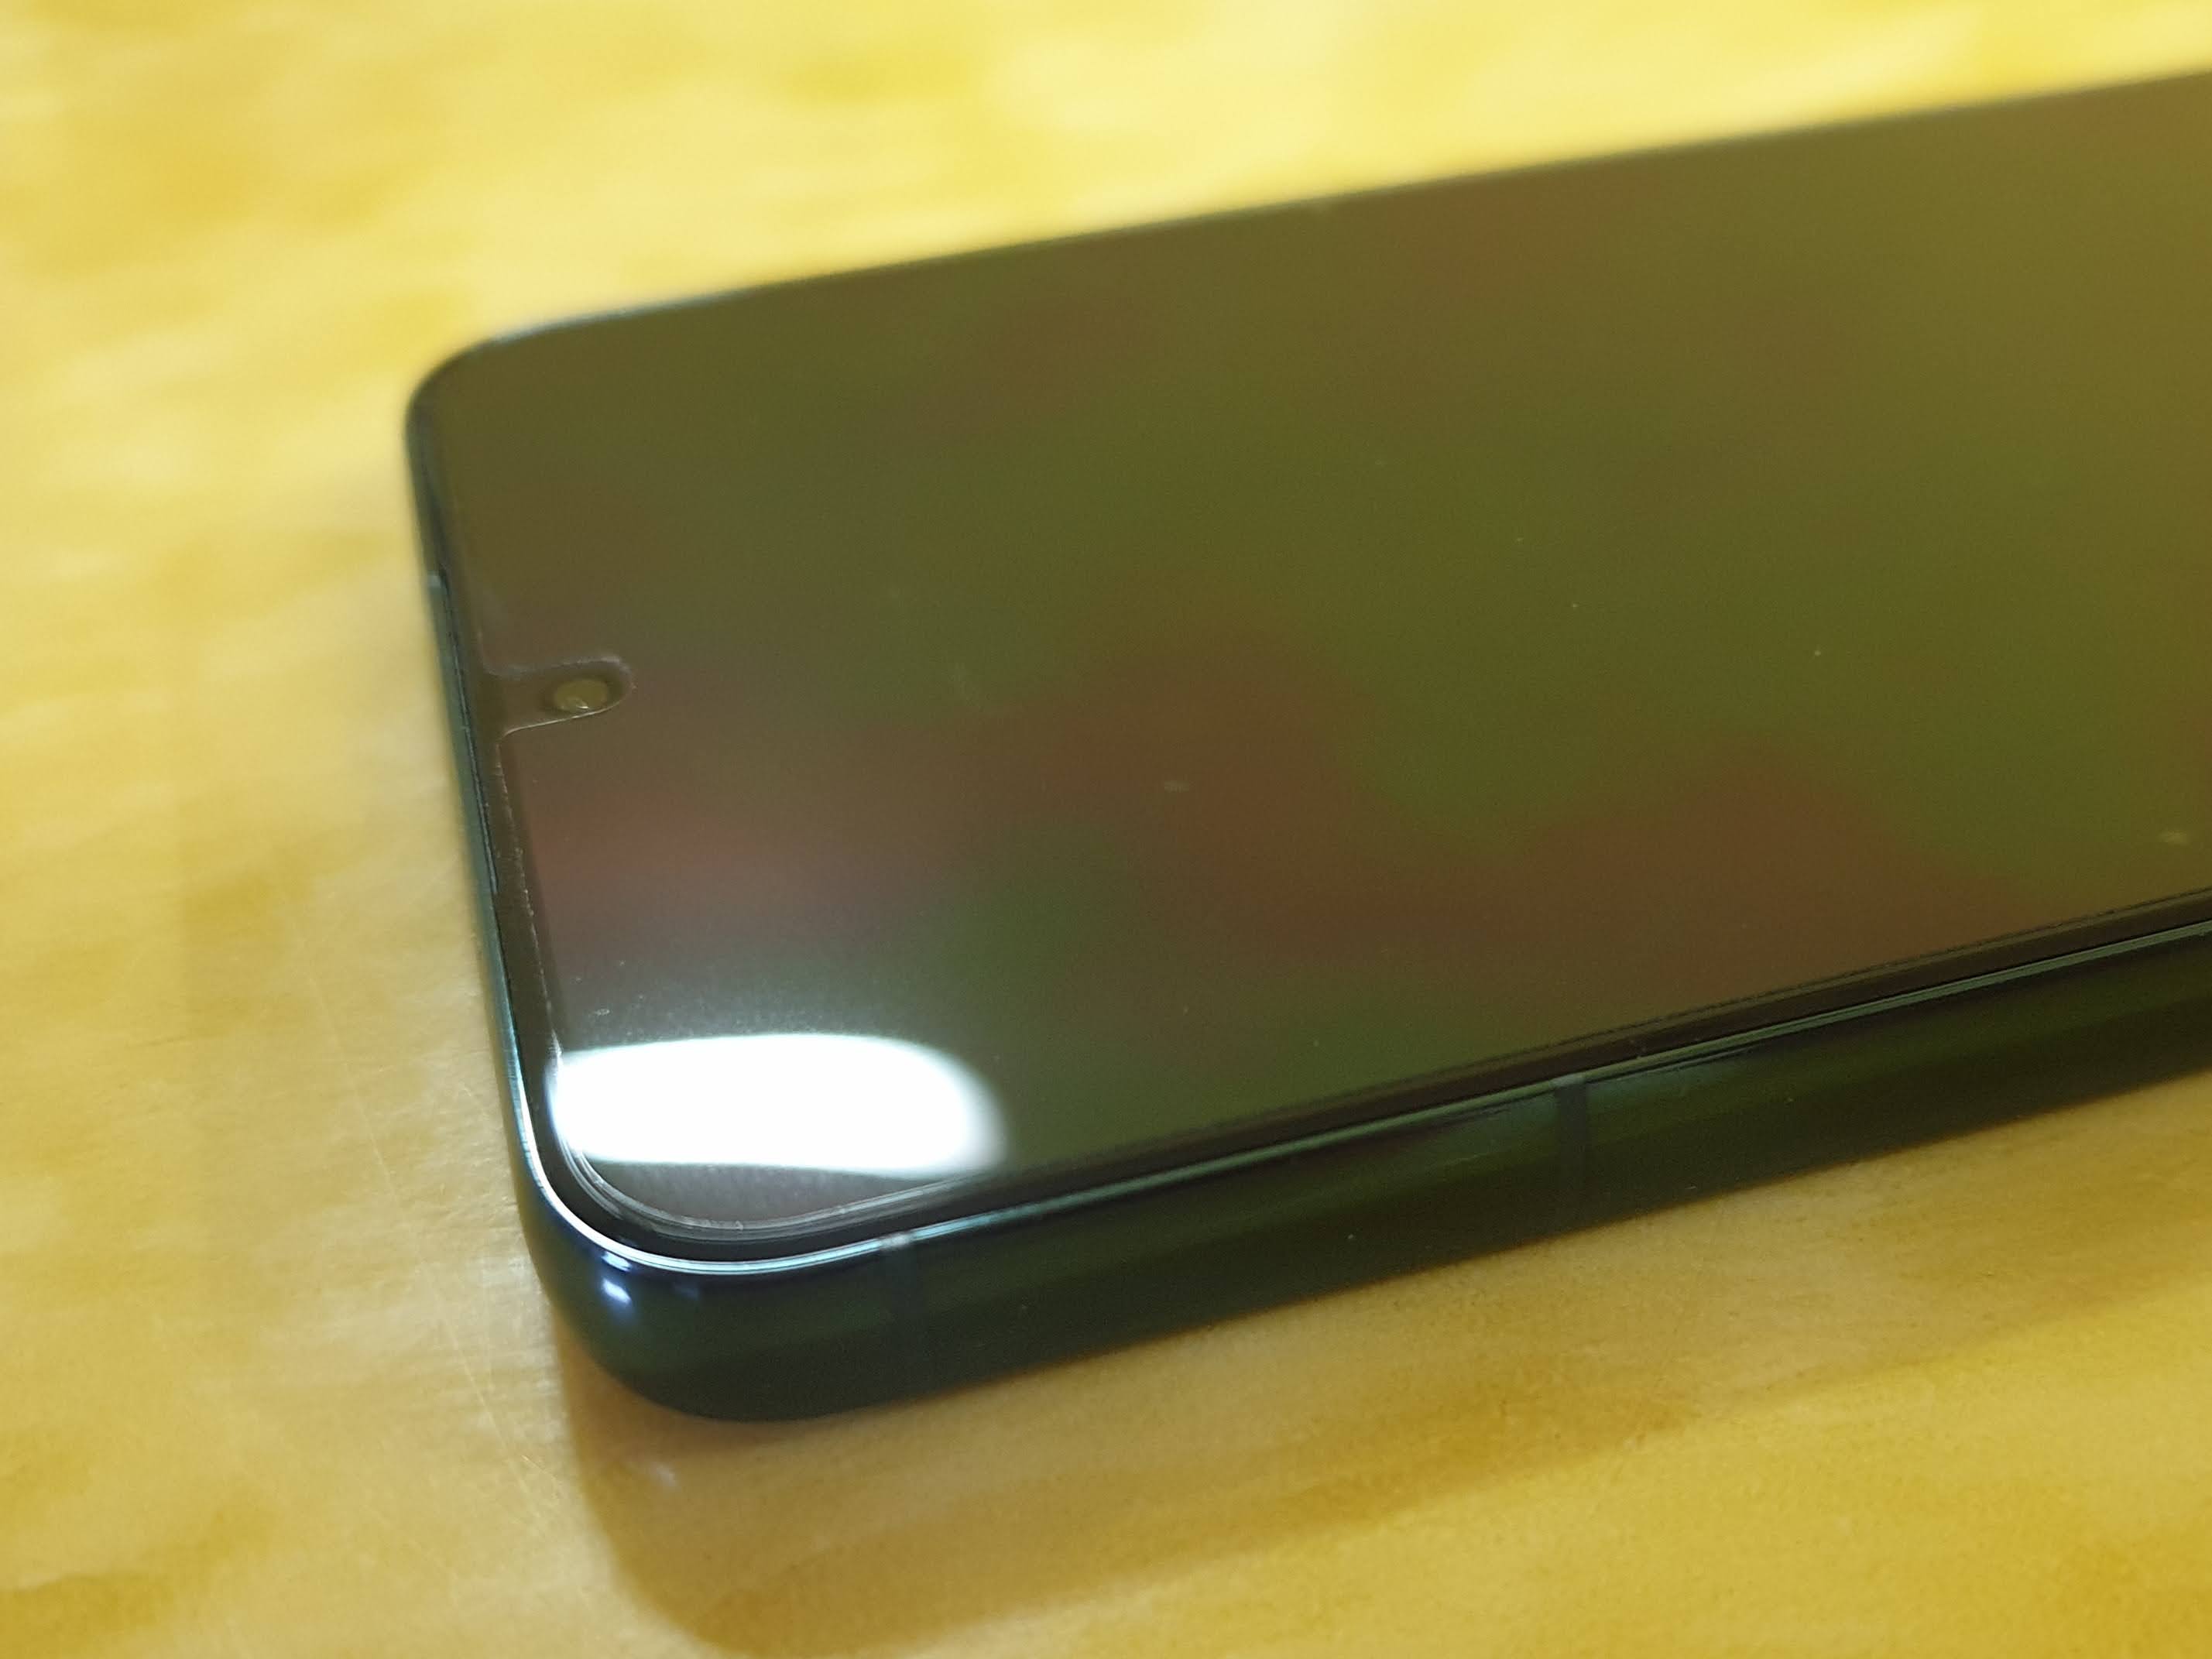
마지막으로 ②번 Remove Part를 제거합니다.
접착력도 좋고, 터치 느낌도 좋습니다.
역시 보호필름은 삼성 정품이 최고입니다.

케이스를 끼워도 필름과 간섭이 없도록
정확히 유격을 두고 있습니다.
배송은 오래 걸렸지만 깔끔한 보호필름인
갤럭시 S22 스크린 프로텍터에 동봉된
지그를 이용해서 간편하게 부착해 보세요
[삼성전자] 갤럭시S22 S22플러스 S22울트라 스크린 프로텍터 보호필름
COUPANG
www.coupang.com
파트너스 활동을 통해 일정액의 수수료를 제공받을 수 있습니다


댓글